TGCDT June 2021 Blog Hop - I'm Just Peachy, Thanks!

Welcome friends, It's time once again for the monthly Gentlemen Crafters Design Team Blog Hop. The Gentlemen Crafters Design Team (#TGCDT) are a group of male crafters & Independent Stampin’ Up! Demonstrators from around the world, that love to share our creative side with you on the 2nd Friday of each month. Be sure to visit all the presenters in this month's hop - links can be found at the bottom of this post.
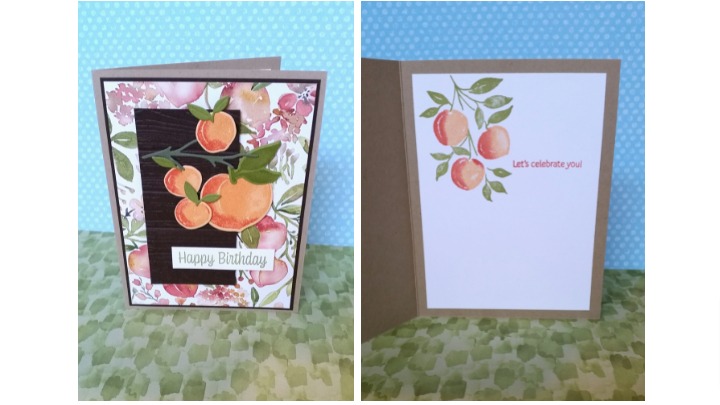
I am having so much fun with the "You're A Peach" suite of products, I find myself crafting for hours. The colour palate is so bright and fun, and there is just so much you can do with stamping and layering of die-cuts to do cards from simple to extreme. My project this month uses a different colour palate than you have probably seen already for the peach suite, but colours that are none the less in the Designer Paper.
A couple of important things to note: I chose to stamp my peaches and leaves on coloured cardstock opposed to white to eliminate the contrasting white edge around the die-cuts, and I used a sponge dauber to apply Calypso Corral ink on the edges of the peach stamps AFTER inking them up fully with Pale Papaya, to give them the shadowed edge and make them look more like the ones on the designer paper.
With those couple of things in mind - this is a very simple and beautiful card to make, and has a more masculine feel to it without bows and rhinestones. I hope you like it and will make one yourself.
- Card Base: Crumb Cake 8-1/2" x 5-1/2" scored at 4-1/4" and folded to 4-1/4" x 5-1/2"
- Layer 1: Early Espresso 4" x 5-1/4"
- Layer 2: Designer Paper 3-7/8" x 5-1/8"
- Layer 3: Early Espresso 2" x 4" embossed with Pinewood Planks
- Inside Matte: Basic White 3-7/8" x 5-1/8"
- Die-Cuts
- Pale Papaya 3" x 3" for one large peach and three small peaches
- Pear Pizazz 2" x 3" for 1 large stem & leaves, ALL the little leaves & 1 branch
- Sentiment Tag: Basic White 3" x 1/2" - trim to your chosen sentiment size
- INKS: Pale Papaya & Calypso Corral for peaches, Pear Pizazz for leaves and sentiment
- STAMPS: Sweet As A Peach 155050
Basic Instructions
- Fully ink up your peach stamps with Pale Papaya ink, then using a sponge dauber, very lightly add a hint of Calypso Corral ink to the right edges of the stamps. Stamp these onto the square of Pale Papaya cardstock and die cut to be added to the card.
- Stamp the stem and leaves image onto the square of Pear Pizazz cardstock with Pear Pizazz Ink, and then die-cut this along with all the tiny little leaf dies and the branch die to be added to the card.
- Stamp the leafy branch image in Pear Pizazz in the top left corner of the Basic White Inside Matte.
- Ink up the three small peaches stamp the same as before with both Pale Papaya and Calypso Corral inks and stamp them in the spaces between the leaves. This stamp is easy to align with the little branches is you look for the little indentations or notches at the top centre of each peach image. This is where the branch goes.
- Add a sentiment of your choice to this panel if you like - I used Let's Celebrate You in Calypso Corral ink.
- Adhere this panel to the inside of your card base.
- Adhere the large Early Espresso Layer 1 to the card front with a 1/8" border.
- Adhere the Designer Series Paper layer to this with a 1/16" narrow border.
- Emboss the smaller piece of Early Espresso with Pinewood Planks or any heavy textures embossing folder you have - the rt Floral or NEW Bark Embossing folders work great too! Adhere this piece to the card front using dimensionals to lift it up.
- Using one dimensional on the right side, and adhesive on the remainder - adhere the large peach off the edge of the Espresso piece.
- Arrange and adhere the smaller peaches as you like, either directly to the Espresso piece, or using dimensionals to create depth.
- Adhere the branch piece and the stems and leaves as you like to the peaches.
- Stamp the outside sentiment on the strip of Basic White, trim to length, and adhere with necessary dimensionals and adhesive at the bottom of the Espresso piece.
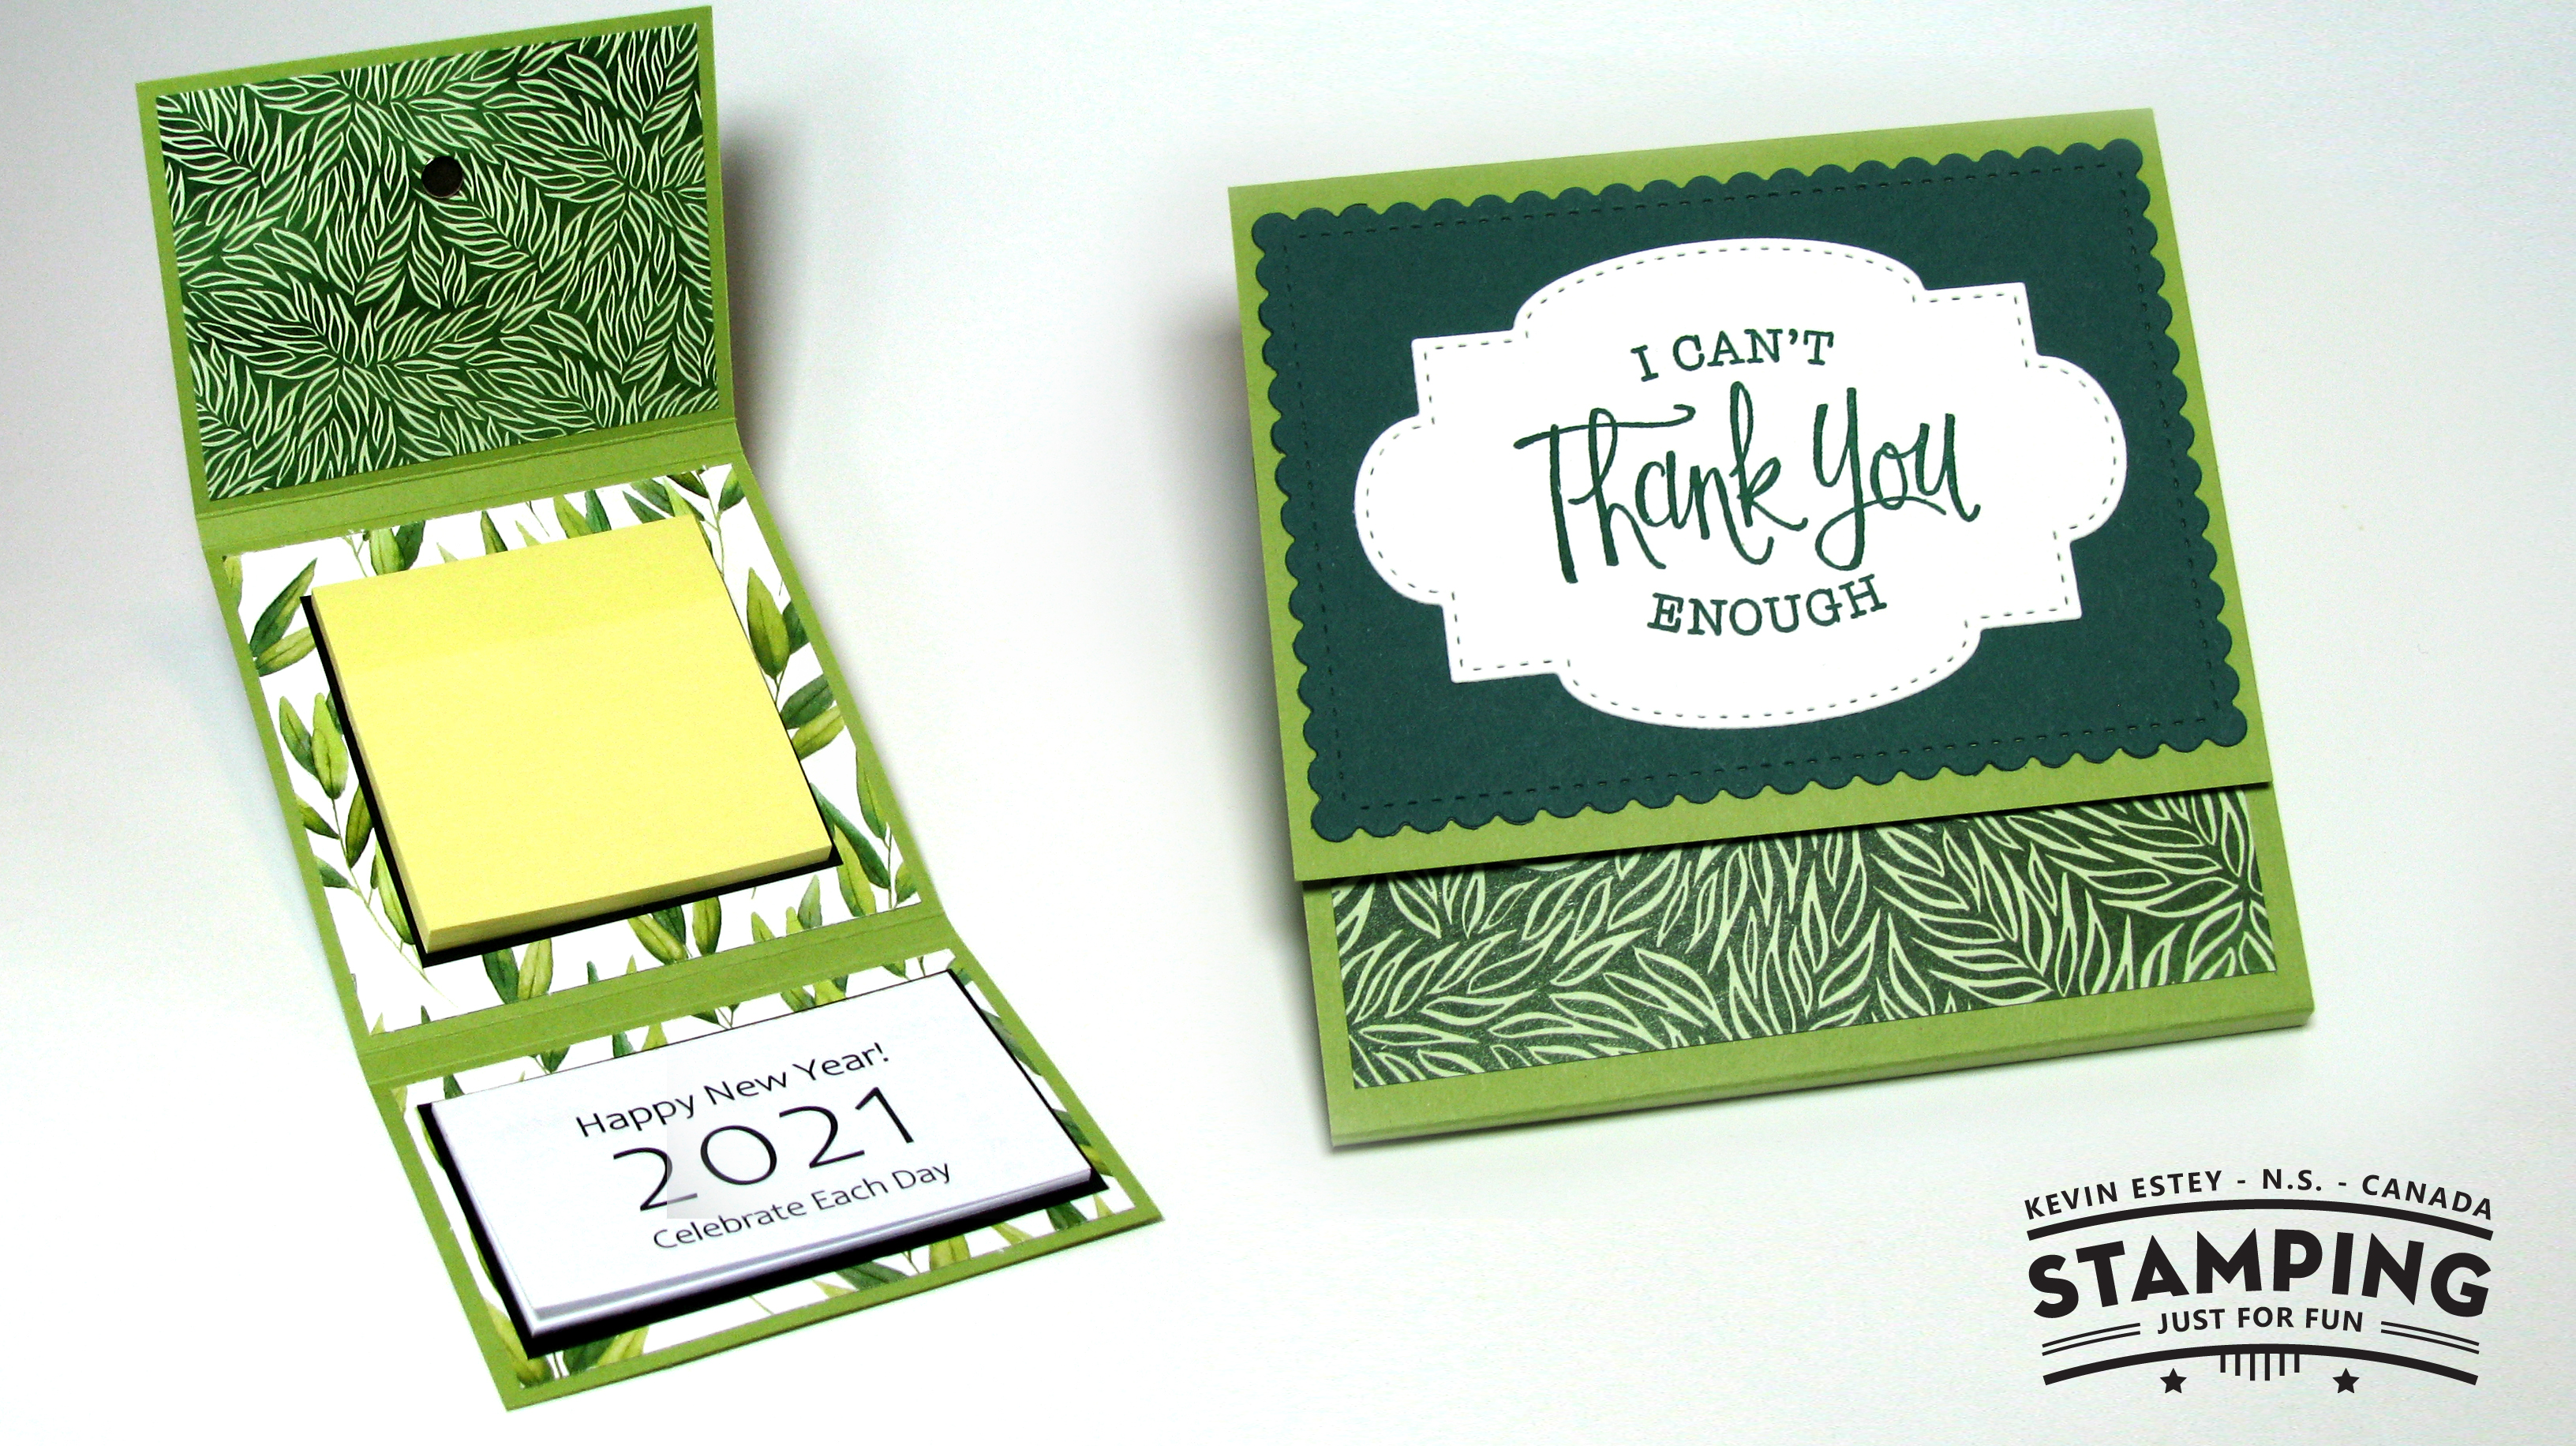
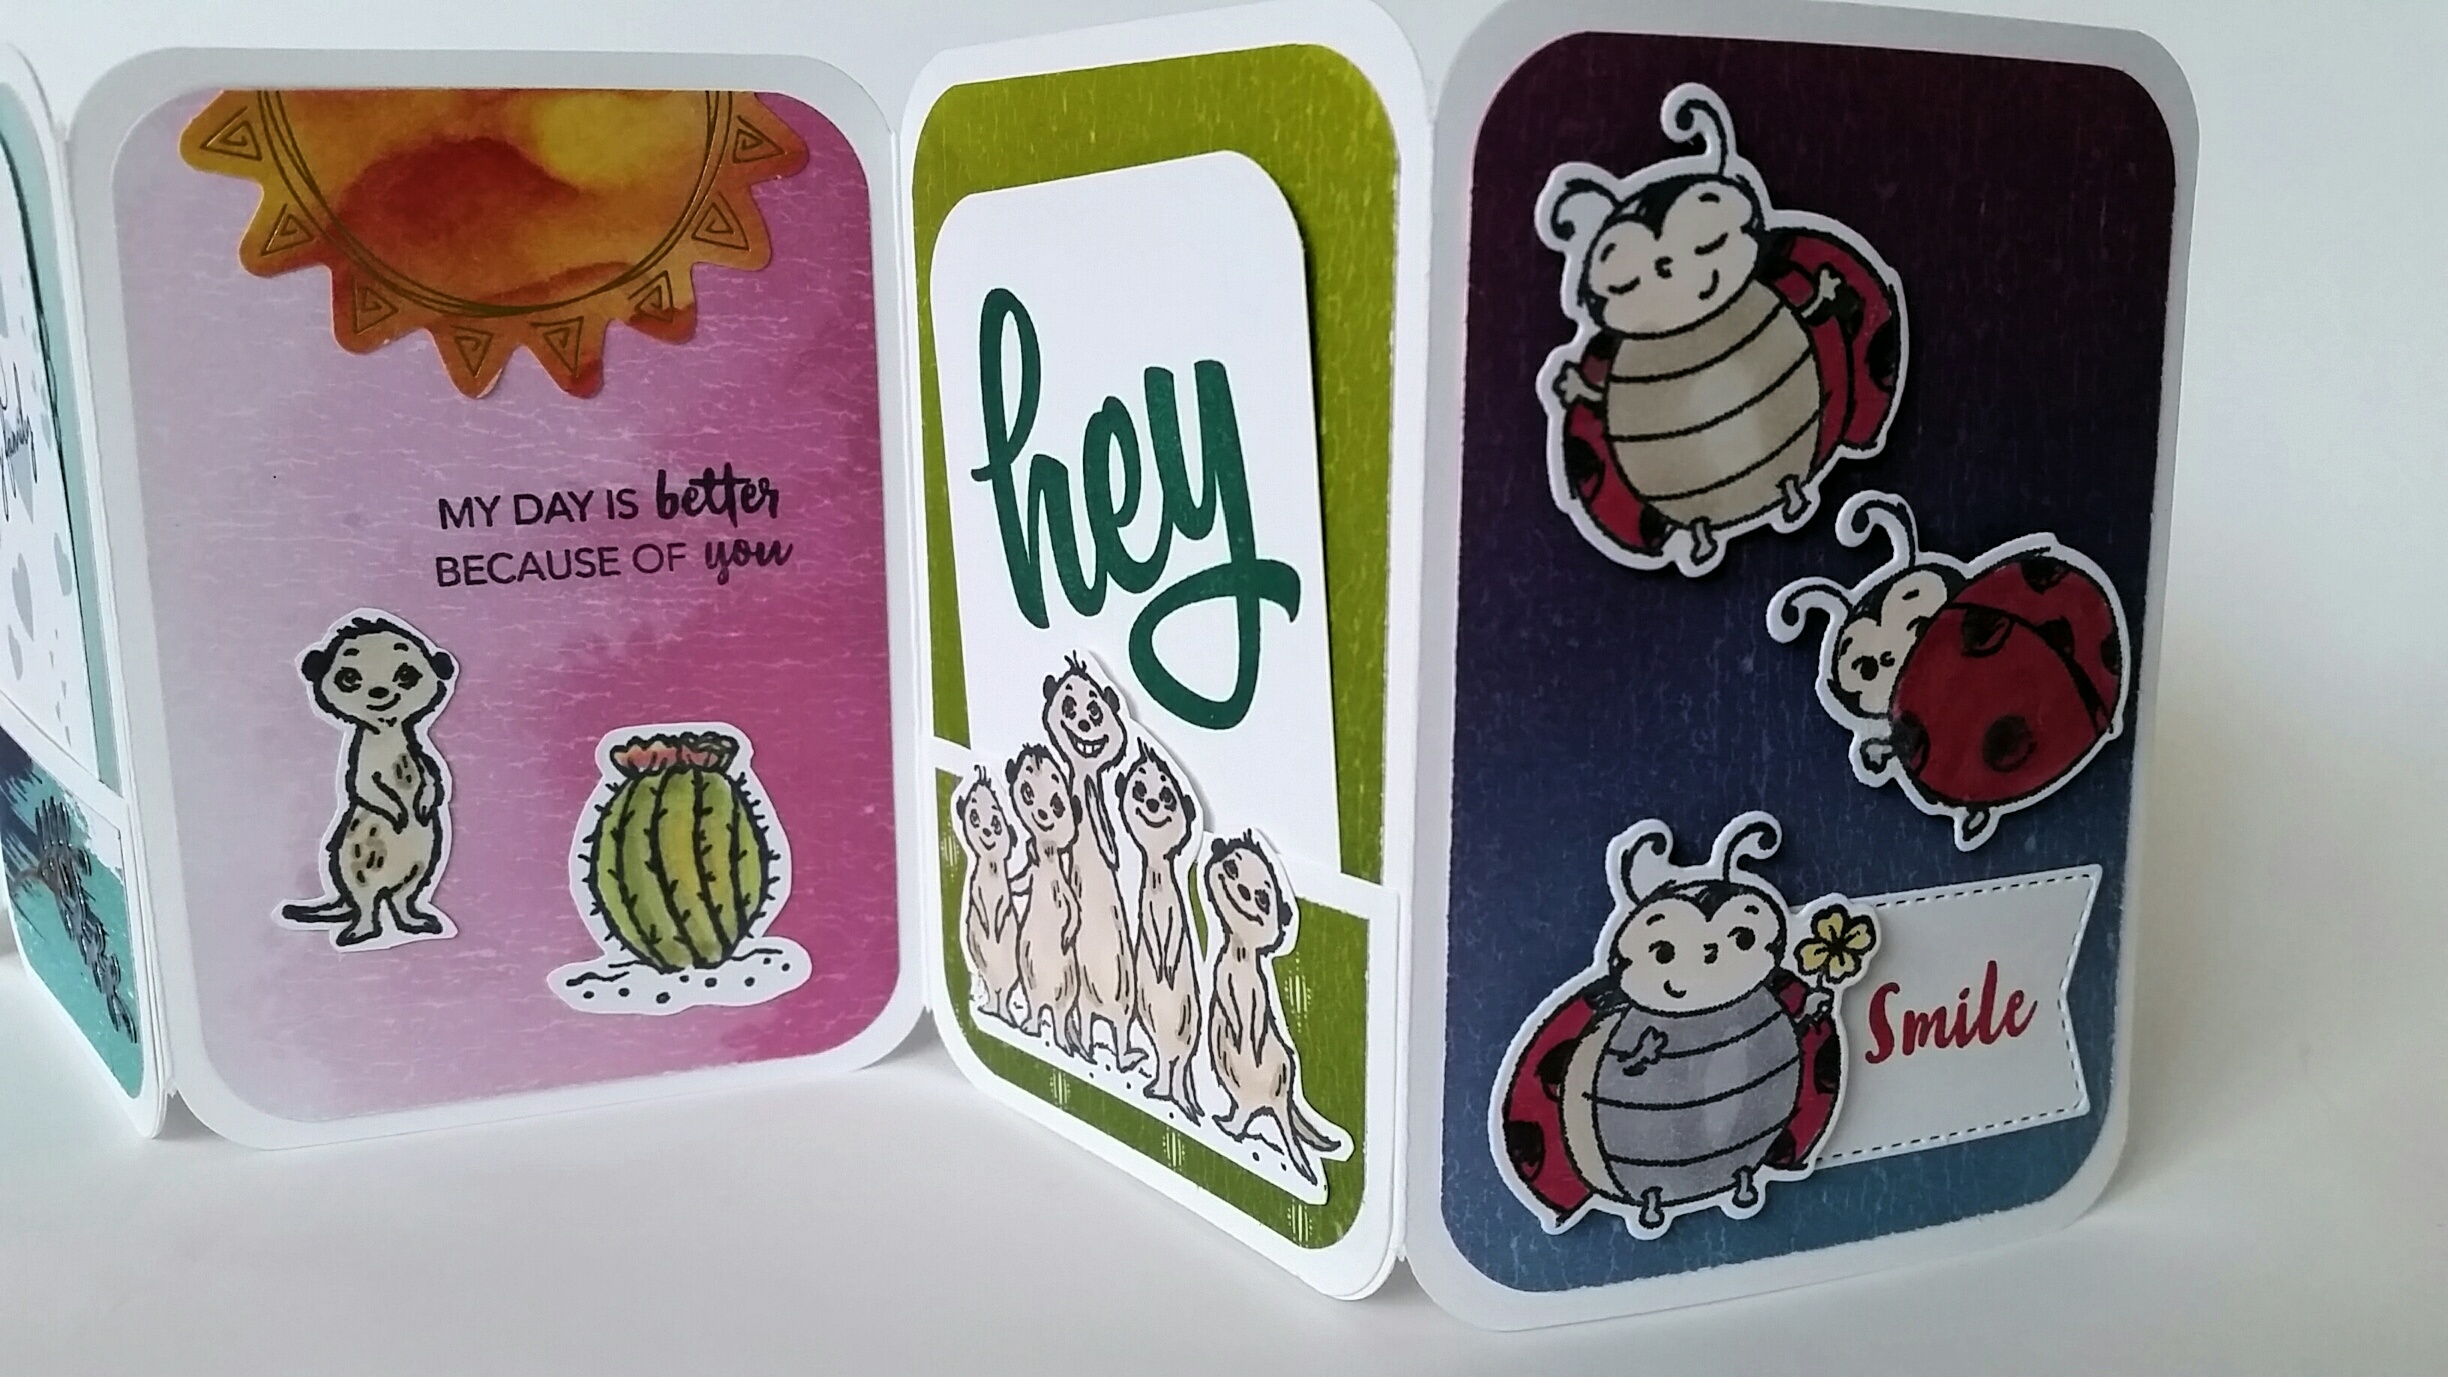
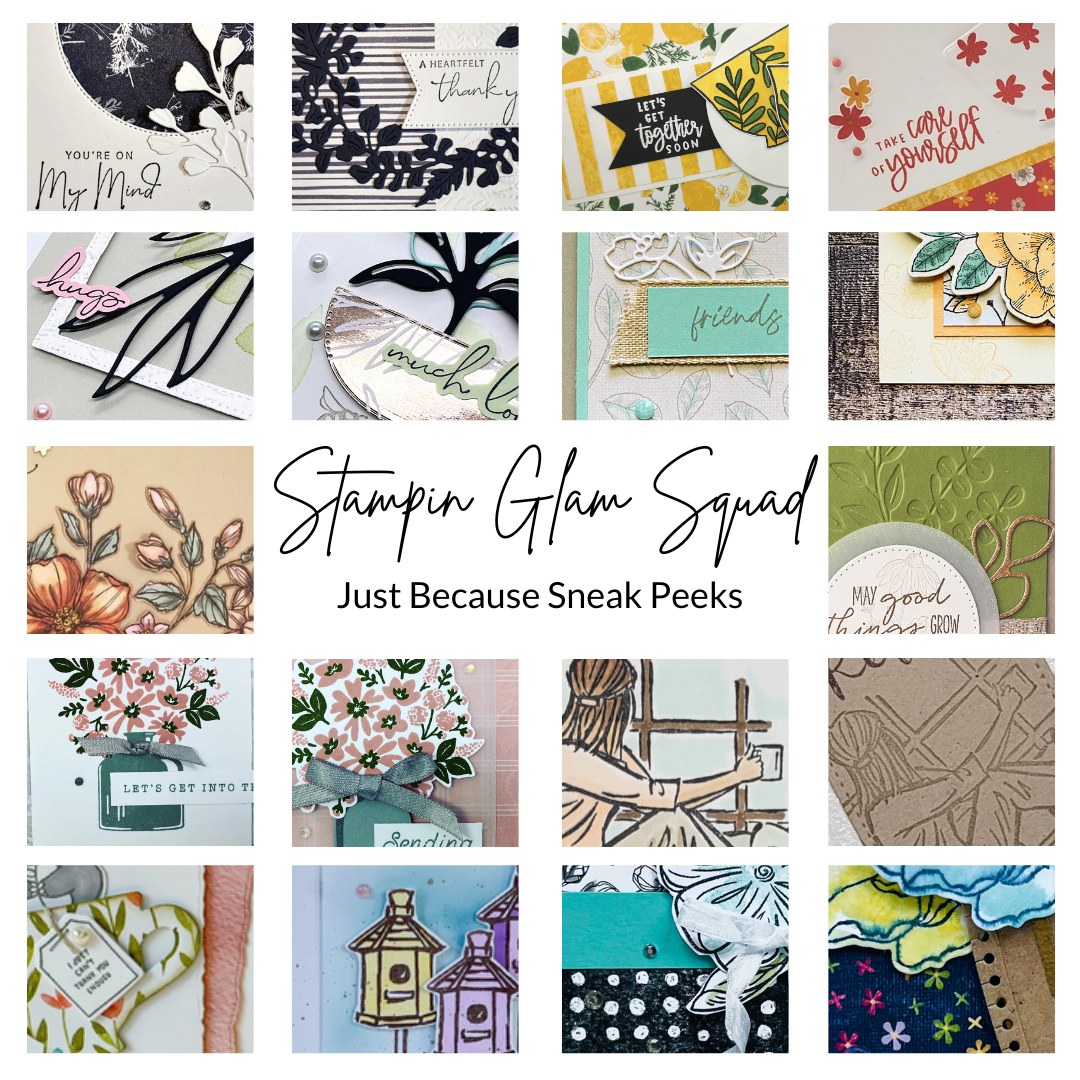
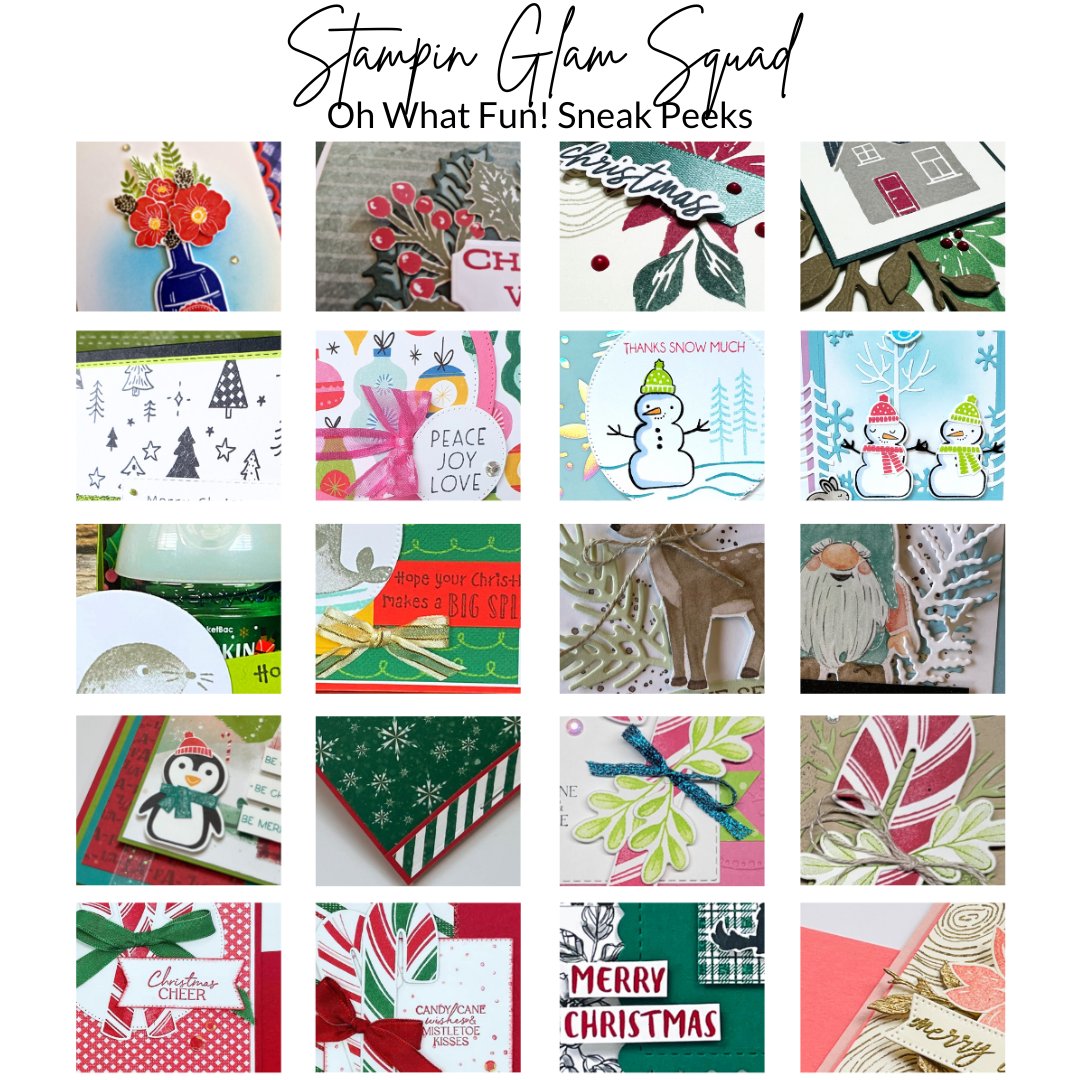
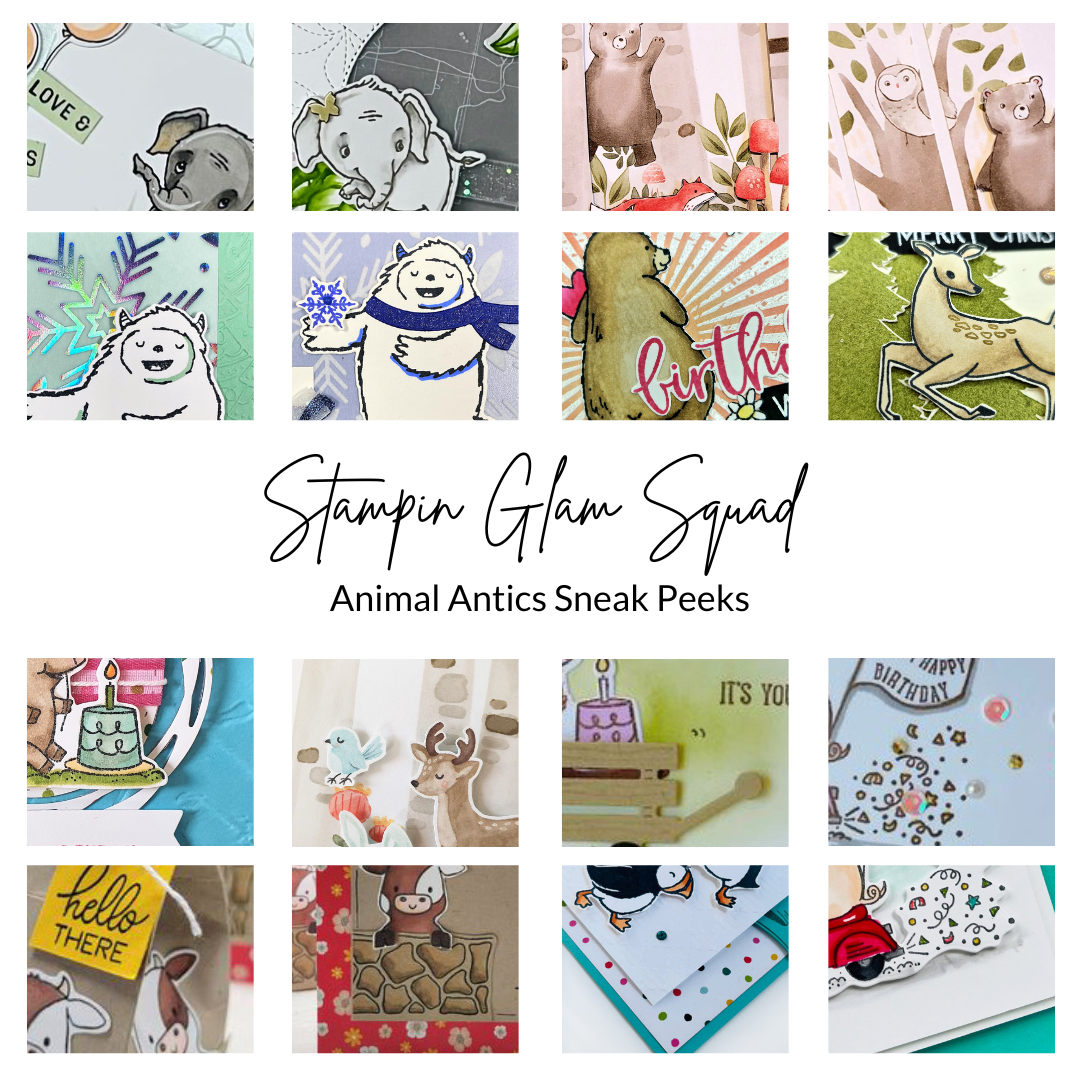
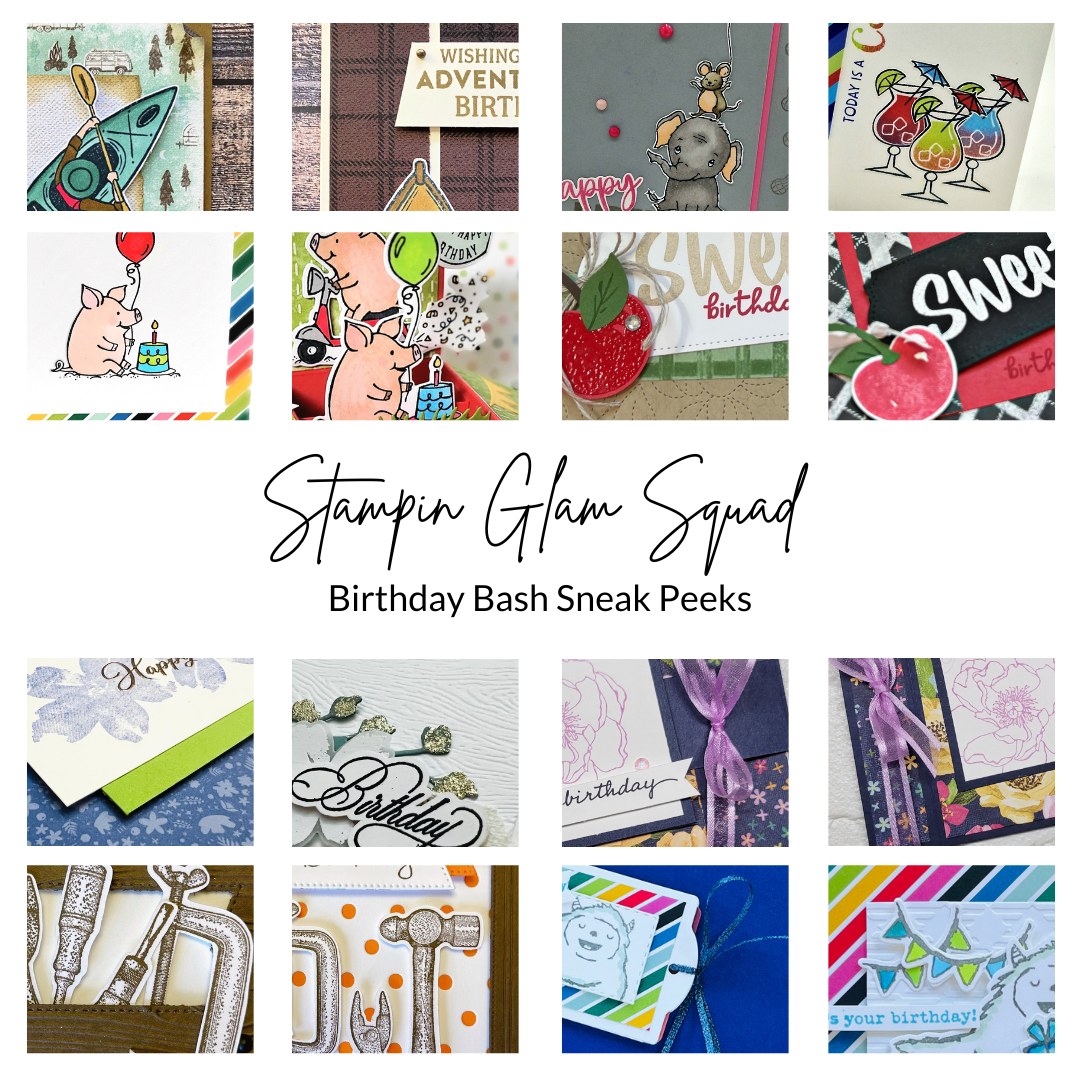
And just for further inspiration, here are some other fun peachy projects I have been creating with this suite.


View the embedded image gallery online at:
https://www.stampingjustforfun.ca/blog/most-recent-blog-posts/156-tgcdt-june-2021-blog-hop-i-m-just-peachy-thanks#sigProId9d7cf6038a
https://www.stampingjustforfun.ca/blog/most-recent-blog-posts/156-tgcdt-june-2021-blog-hop-i-m-just-peachy-thanks#sigProId9d7cf6038a
Please visit all the other truly talented crafters
in this Blog-hop. Click a name below:
Barry Selwood & Jay Soriano
Bruno Bertucci
Daniel Nickeson
Jason Loucks
Martin Stone
Rene Guenther
Tony Embrey

Follow Me


Online Shopping

When you shop Stampin' Up! online
be sure to apply this month's host code
RT6ANQZ3
Order $60 in product and choose
3 Project Tutorial Bundles FREE!

Cards & Cards April 20
Make 4 fun-tastic cards
Play 6 rounds of Lucky Hand
with up to $1000 in giveaways
REGISTER NOW

Spring Fun-Fold Retreat
May 10-11
REGISTER NOW
Upcoming Classes & Events
| No events |
My Featured Store Items


Share This on Social Media
Latest Blog Posts
- TGCDT - March Blog Hop - Beautiful Sentimental Park
- TGCDT - February Blog Hop - "Having Some Fun at The Pond"
- TGCDT January Blog Hop - "Thanks A Bunch"
- Come join my Stamping Stars Team - Now is a great time.
- TGCDT - November Blog Hop - The Beautiful Lovely & Lasting Bundle
- TGCDT - October Blog Hop - Welcome Fall and Hello Harvest
Newsletter Signup
Paper Pumpkin Crafting
Paper Pumpkin is for Everyone! No Skills or tools required. Each month a fully designed project kit arrives in a delightful box filled with stamps, ink, and paper—everything cut and ready to go so you can skip right to the fun. Just think of it as creativity in a box.
More Info SIGN ME UP!
More Info SIGN ME UP!
.jpg)
.jpg)
.jpg)
.jpg)
.jpg)
.jpg)
.jpg)
.jpg)
.jpg)
.jpg)
.jpg)
.jpg)
.jpg)
.jpg)
.jpg)
.jpg)
.jpg)
.jpg)
.jpg)
.jpg)
.jpg)
.jpg)
.jpg)
.jpg)
.jpg)
.jpg)
.jpg)
.jpg)
.jpg)
.jpg)
.jpg)
.jpg)
.jpg)
.jpg)
.jpg)
.jpg)
.jpg)
.jpg)
.jpg)
.jpg)
.jpg)
.jpg)
.jpg)
.jpg)
.jpg)
.jpg)
.jpg)
.jpg)
.jpg)
.jpg)
.jpg)
.jpg)
.jpg)
.jpg)
.jpg)
.jpg)
.jpg)
.jpg)
.jpg)
.jpg)
.jpg)
.jpg)
.jpg)
.jpg)
.jpg)
.jpg)
.jpg)
.jpg)
.jpg)
.jpg)
.jpg)
.jpg)
.jpg)
.jpg)
.jpg)
.jpg)
.jpg)
.jpg)
.jpg)
.jpg)
.jpg)
.jpg)
.jpg)
.jpg)
.jpg)
.jpg)
.jpg)
.jpg)
.jpg)
.jpg)
.jpg)
.jpg)
.jpg)
.jpg)
.jpg)
.jpg)
.jpg)
.jpg)
.jpg)
.jpg)
.jpg)
.jpg)
.jpg)
.jpg)
.jpg)
.jpg)
.jpg)
.jpg)
.jpg)
.jpg)
.jpg)
.jpg)
.jpg)
.jpg)
.jpg)
.jpg)
.jpg)
.jpg)
.jpg)
.jpg)
.jpg)
.jpg)
.jpg)
.jpg)
.jpg)
.jpg)
.jpg)
.jpg)
.jpg)
.jpg)
.jpg)
.jpg)
.jpg)
.jpg)
.jpg)
.jpg)
.jpg)
.jpg)
.jpg)
.jpg)
.jpg)
.jpg)
.jpg)
.jpg)
.jpg)
.jpg)
.jpg)
.jpg)
.jpg)
.jpg)
.jpg)
.jpg)
.jpg)
.jpg)
.jpg)
.jpg)
.jpg)
.jpg)
.jpg)
.jpg)
.jpg)
.jpg)
.jpg)
.jpg)
.jpg)
.jpg)
.jpg)
.jpg)
.jpg)
.jpg)
.jpg)
.jpg)
.jpg)
.jpg)
.jpg)
.jpg)
.jpg)
.jpg)
.jpg)
.jpg)
.jpg)
.jpg)
.jpg)
.jpg)
.jpg)
.jpg)
.jpg)
.jpg)
.jpg)
.jpg)
.jpg)
.jpg)
.jpg)
.jpg)
.jpg)
.jpg)
.jpg)
.jpg)
.jpg)
.jpg)
.jpg)
.jpg)
.jpg)
.jpg)
.jpg)
.jpg)
.jpg)

Comments
Thank you very much for showing it in TGCDT.
Many greetings from Leipzig.
Rene